Pages

Sunday, 13 July 2014

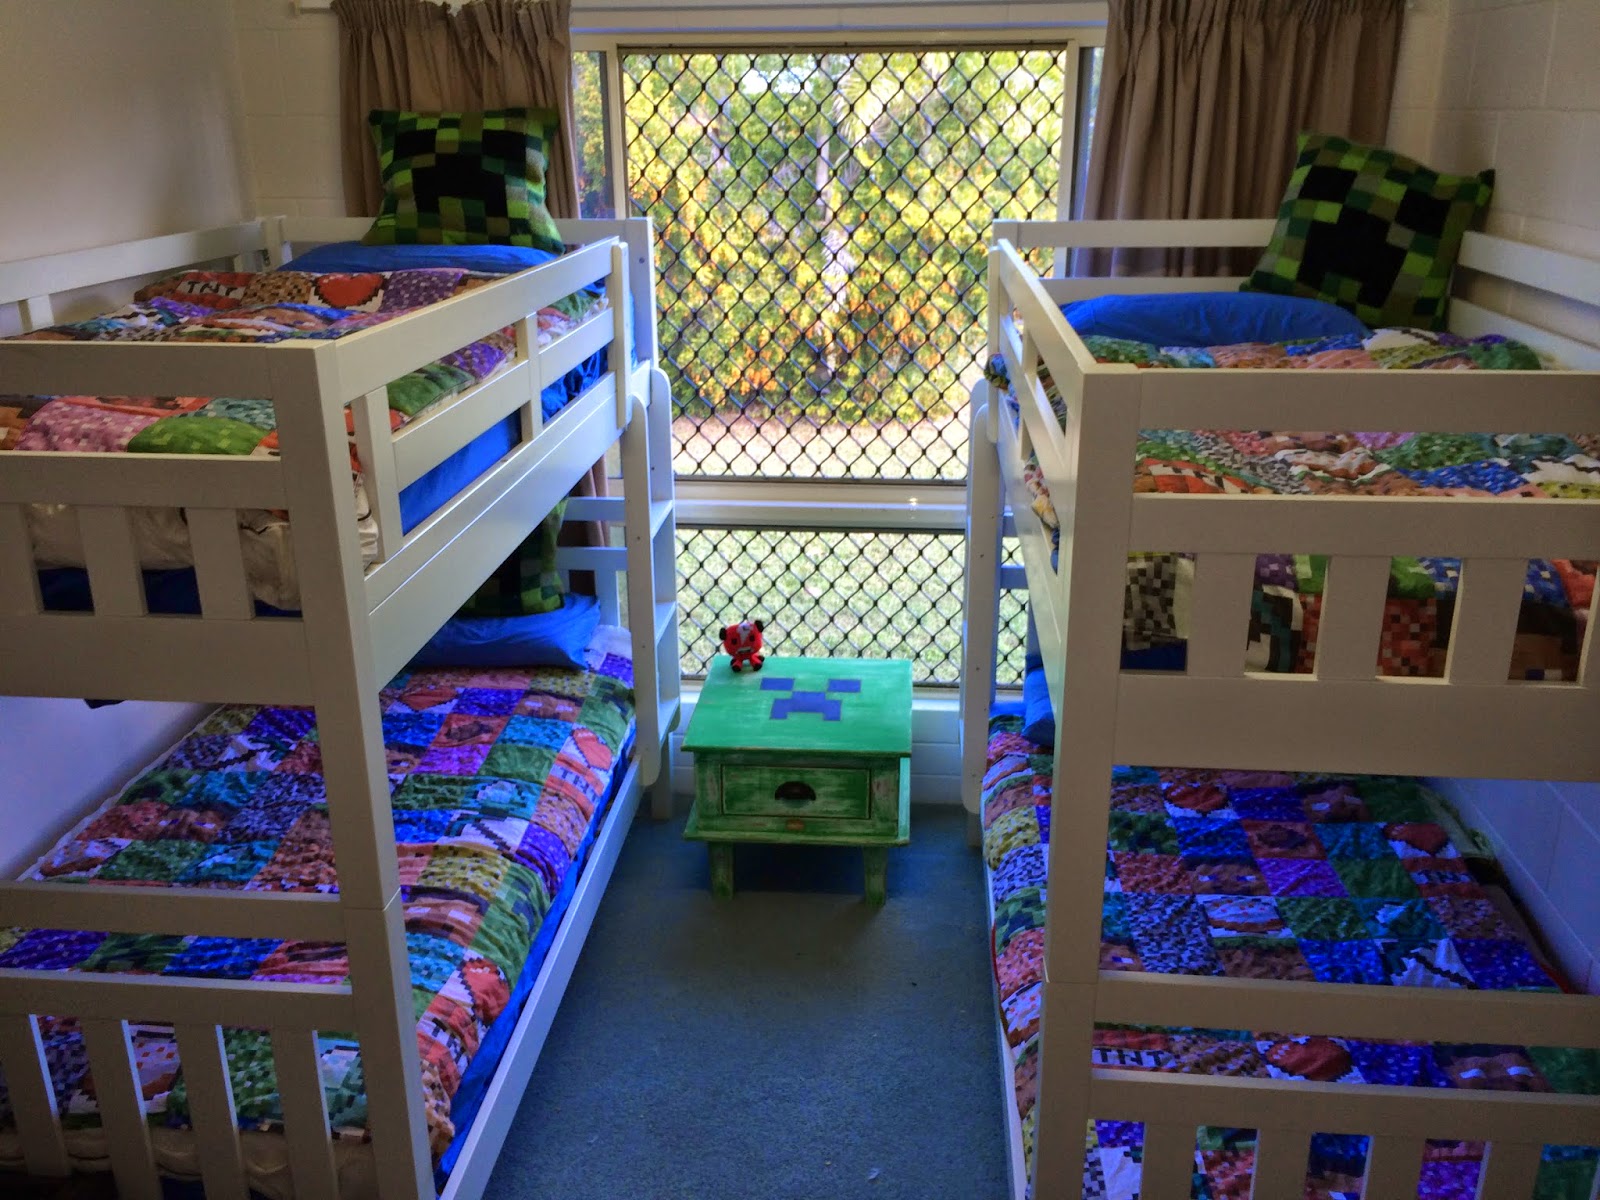
Minecraft coffee table

My boys want a Minecraft themed bedroom. The company that makes Minecraft hasn't expanded into the complete range of merchandise to flog to kids. Though I am sure it is just a matter of time but for now I can't just go to the store and buy Minecraft decor items. So I am slowly decorating the hard way, which is DIY.
So far the boys have knitted wool cushions which Grandma made from a pattern found here.
I also bought them weighted blankets made with Minecraft fabric. Weighted blankets can help calm and settle children with sensory issues especially children with autism.


I had this old coffee table that was doubling as a bedside table between the bunk beds. It was very knocked about and even had a corner chewed by a dog many years ago.

 I sanded the coffee table and put two coats of undercoat on. I then put two coats of leftover green paint on. I then tried my best to make a Creeper face template. I was convinced it was big enough but I think I should have made it bigger still. I was also convinced I had centered the template before painting. hahahaha. Luckily the boys haven't noticed.
I then had a wild urge to distress the paint. I have never tried heavily distressing a piece of furniture before but wanted to try before I start a BIG project later in the week.
Here is the final product. I haven't sealed it yet as I am trying to work out if I need to make any further adjustments first.


Here is a photo from when I was falling off what I was standing on to try take these photos. Luckily I wasn't injured. :)

I have seen a few removable wall stickers on Etsy that have Minecraft related designs. I am thinking of getting some of those for the room. I also plan to get the boys to help make some paintings to hang up in here. I think we have enough Creepers in here though. I really want to make a Minecraft pig as they look cute.

I hope you have a great day. I am hoping to stalk the postie today as I am waiting on exciting things to arrive for a new project. :)

Thursday, 10 July 2014

Upcycle - Table runner

I know I only recently featured an upcycled tablecloth but last night I had a wild urge to make myself something pretty and I couldn't wait to share it. Besides snuggling up in a comfy chair with a project seemed to be the best cure for last night's cold weather.

I started with a plain store bought runner and a table full of supplies.
 The crochet flowers I bought in bulk off ebay ages ago. I also used buttons and coloured threads.
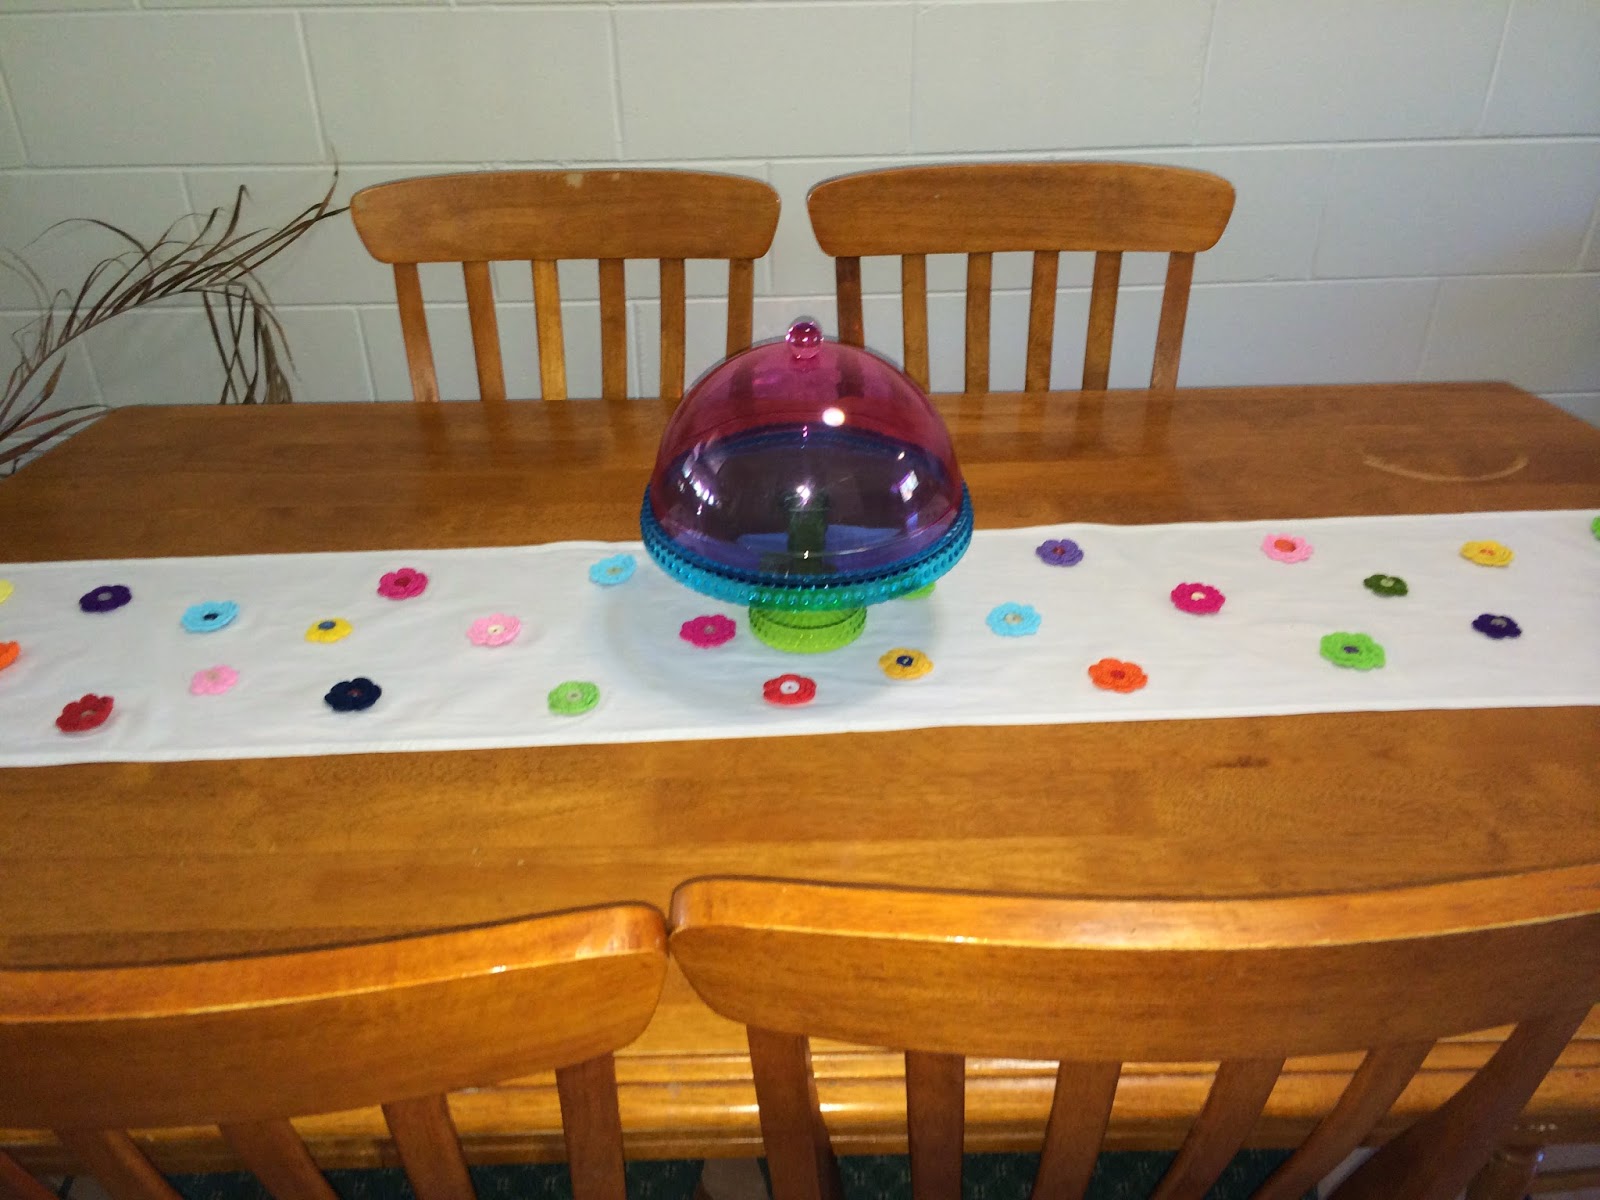
 Now here is the finished product on the table.
I have yellow pompoms at one end and red on the other end because I was using up scraps.

I am really happy with how it looks. It will be great for birthday parties or just when I need a dose of happy. 

Next week I am hoping to have a few big furniture projects to share. I am so excited to get started on those. I am just waiting for supplies to arrive. Now to head to the shed and finish something special for the boys. 

Wednesday, 9 July 2014

Organising kids clothes for large families

Recently the 3 older boys decided that they wanted share a bedroom so a big reshuffle took place to make them happy. I wasn't too concerned though because come summer we will only need to run one air-conditioner for them rather than 3. Win Win.

But the room they moved into didn't have wardrobes so the boys' clothes stayed in their old rooms. There seemed to be clothes spread everywhere so it was time for a big sort out. I stripped one of their old rooms and have made it into a dressing room for them.


 I placed all the t-shirts, shorts, long sleeved shirts and tracksuit pants in these wire baskets. The bottom row is all size 6, the next row up is size 7, the next row up is size 8, etc, etc.  I decided to put the smaller sizes at the bottom and largest at the top because the 8yo can't reach the top so his clothes are at the bottom.
 I really love how this has worked out because as the boys grow then they just start taking clothes out of the next basket above. Previously I would have had to empty cupboards and move them into the next child's room. And then sort out their clothes, etc.  Also with the baskets I can easily see which basket looks like it needs a refill of new clothes. For example I thought I had a lot of size 14 clothes for one of the bigger twins but I realised that I  have very few shorts for him. I can also see that we have quite a lot in some sizes and I do not need to purchase any more of those unless at some point they get damaged or stained.
This type of organising wont suit all families but if you have lots of kids or kids around the same sizes then this is something that is working well for us and may work for you too.

In the dressers I have placed pj's, underwear, swimmers, jeans and hats. The jumpers, jackets and dress shirts are in the wardrobe. The school uniforms are in there too. I placed an empty laundry basket in the room and so far the boys are placing the clothes in there without any nagging. There have been no discarded clothes on the floor.

I am planning on adding a mirror and possibly some boy's fashion photos to make it look more like a dressing room. It would be awesome to make it look like a Hollywood movie dressing room. But that wont be happening any time soon as I have quite a few other projects to tackle first.

Another trick I do to make sorting clothes easier to to buy dozens of identical socks for the boys. I then don't have to worry about trying to match pairs. Every sock in the draw will match. Then when the socks are looking grotty I throw the whole lot out and replace them again with dozens of identical socks.

Tuesday, 8 July 2014

Tablecloth upcycle

This old tablecloth has sat in the linen cupboard for years. I am not sure where it even came from, but I am guessing it was secondhand when I got it. It is rather bland so it never got used but it is time it had a face lift... and an iron.


 There were lots of blank squares around the tablecloth, as shown below.
 I filled these blank squares in with different coloured embroidery threads.

 I added yellow pompom tassels which I bought at Spotlight. I forgot to buy matching sewing thread while I was at the shops, so I hand sewed the pompoms onto the tablecloth with embroidery thread.

I am much happier with the look of the tablecloth now. It is now pretty enough to stay out of the linen cupboard.

Monday, 7 July 2014

Rubbish bin upcycle

I had this old bin sitting in the shed, it was a bit dented and rusted but still quite functional.


 I sanded off some of the rust and hammered out as many dents as I could.  I wanted to paint the entire bin pink but I realised I didn't have much paint left in the spray can. Instead I painted 2 coats of paint on the top and bottom.
 I then glued fabric to the outside of the bin. The Littlest Man knocked the bin over while I was working on it and knocked the lid out of alignment and I didn't notice until after I took the photo. I have fixed it now and the bin is now jazzing up the kitchen.
It is hard to believe that just a few hours earlier it was looking old and rusty. Now to find something else to jazz up to use for the recycling.

Sunday, 6 July 2014

Road trip - Undara Lava Tubes.

Taking 4 boys camping is a big task. Taking 4 boys with autism camping is a huge undertaking. But taking 4 boys with autism camping by myself as a single mum sounds like the stuff of nightmares. However, it was time to step well outside my comfort zone and plan our very first camping trip.

I chose to take the boys to see the Undara Lava tubes because we might as well make the trip an educational outing as well. The Undara National Park is about 4.5 -5 hour drive from Townsville going via the Harvey's Range Rd route. There are longer routes from Townsville such as going via Ingham or Charters Towers. About 18 years ago I went out there and then much of the distance was dirt road. This time the entire journey was sealed road but in a very few short sections it was one lane only and cars have to pull over to allow the road trains to pass. This was what the roads looked like in the worst sections. This photo was taken by one of my boys.
We stopped in Greenvale on the way there and on the return journey for fuel, a stretch and toilet break. The boys all coped well with the drive but I made it easier for everyone by having snacks, drinks and charged ipads within reach.
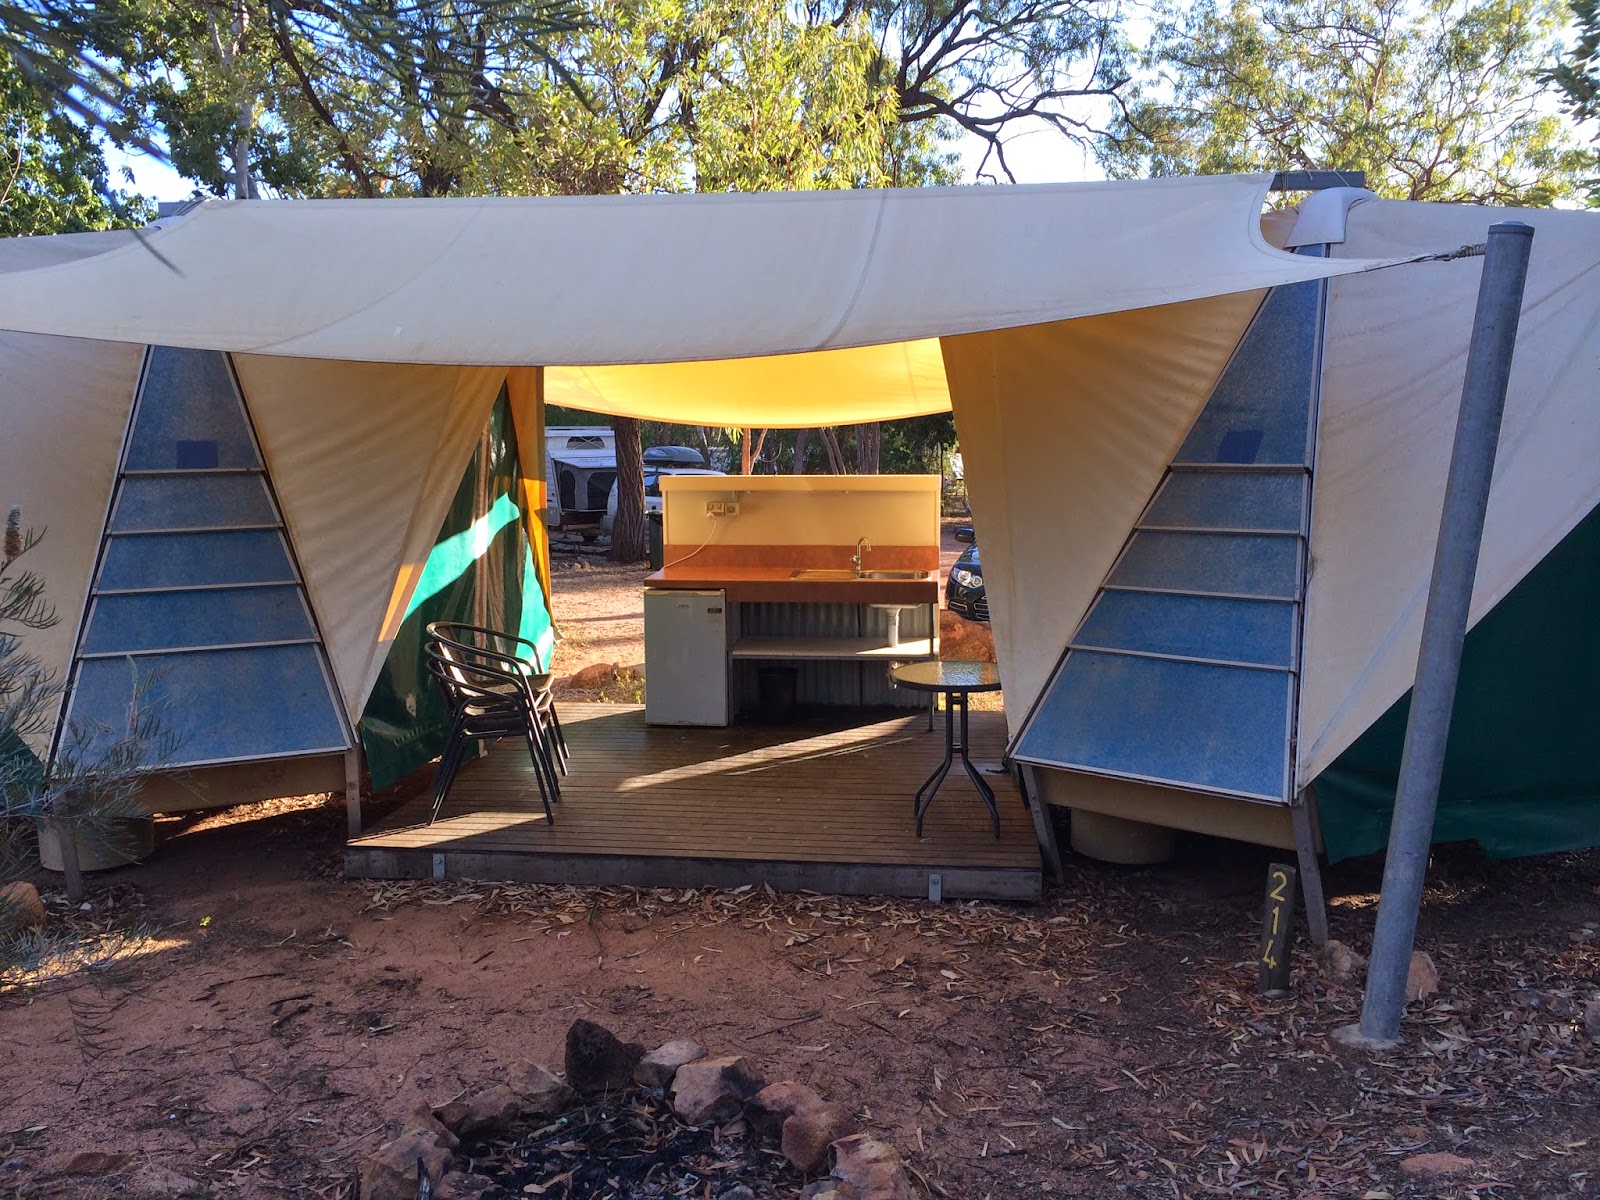
We stayed at the Undara Experience in a family swag tent. This is what ours looked like.
There was a double bed on one side and two bunk beds on the other side. In the middle was a small deck with a bar fridge, sink, power points and small table and chairs. We took our own bedding to keep the cost down but you can hire bedding. 

There is a restaurant on site but I had packed our portable fridge full of food. Near our tent was an undercover area to prepare meals. It had push button gas BBQs, a sink, communal fridge, kettle, toaster and picnic tables.  I used the BBQs to cook our meals but next time I might take an electric frypan then I could cook at our tent. The kid's meals at the restaurant were $12.50 each so just one meal for my boys would have cost $50 before I had even picked a meal. The adult meals were between $20 - $35 from memory.  We did go and have a couple of baskets of chips one lunchtime while the kids warmed up by the fire. 


We went in winter so the nights were quite cold. The daytime temperature was pleasant except when the wind picked up. The boys were a bit upset that it was too cold to use the pool. But everyone loved the hot water in the showers. The communal showers and toilets were very clean and well maintained and there was plenty of lighting along the paths for late night toilet runs.

We did a few bush walks while we were there. We did a few around the resort and then we also drove to a different section of the national park where you can walk up to the rim of an extinct volcanic crater. That walk was about 2.5k and was a bit steep in places but the Littlest Man could manage it with his tiny legs and in the areas he couldn't then I was able to do it while carrying him.


Here are some photos of us chilling out after all the exercise. Note all the ipads, they are a must for taking my boys anywhere as they help the boys cope with change. I must say that all 4 boys coped very well trip. Things went far smoother than I could have hoped for.


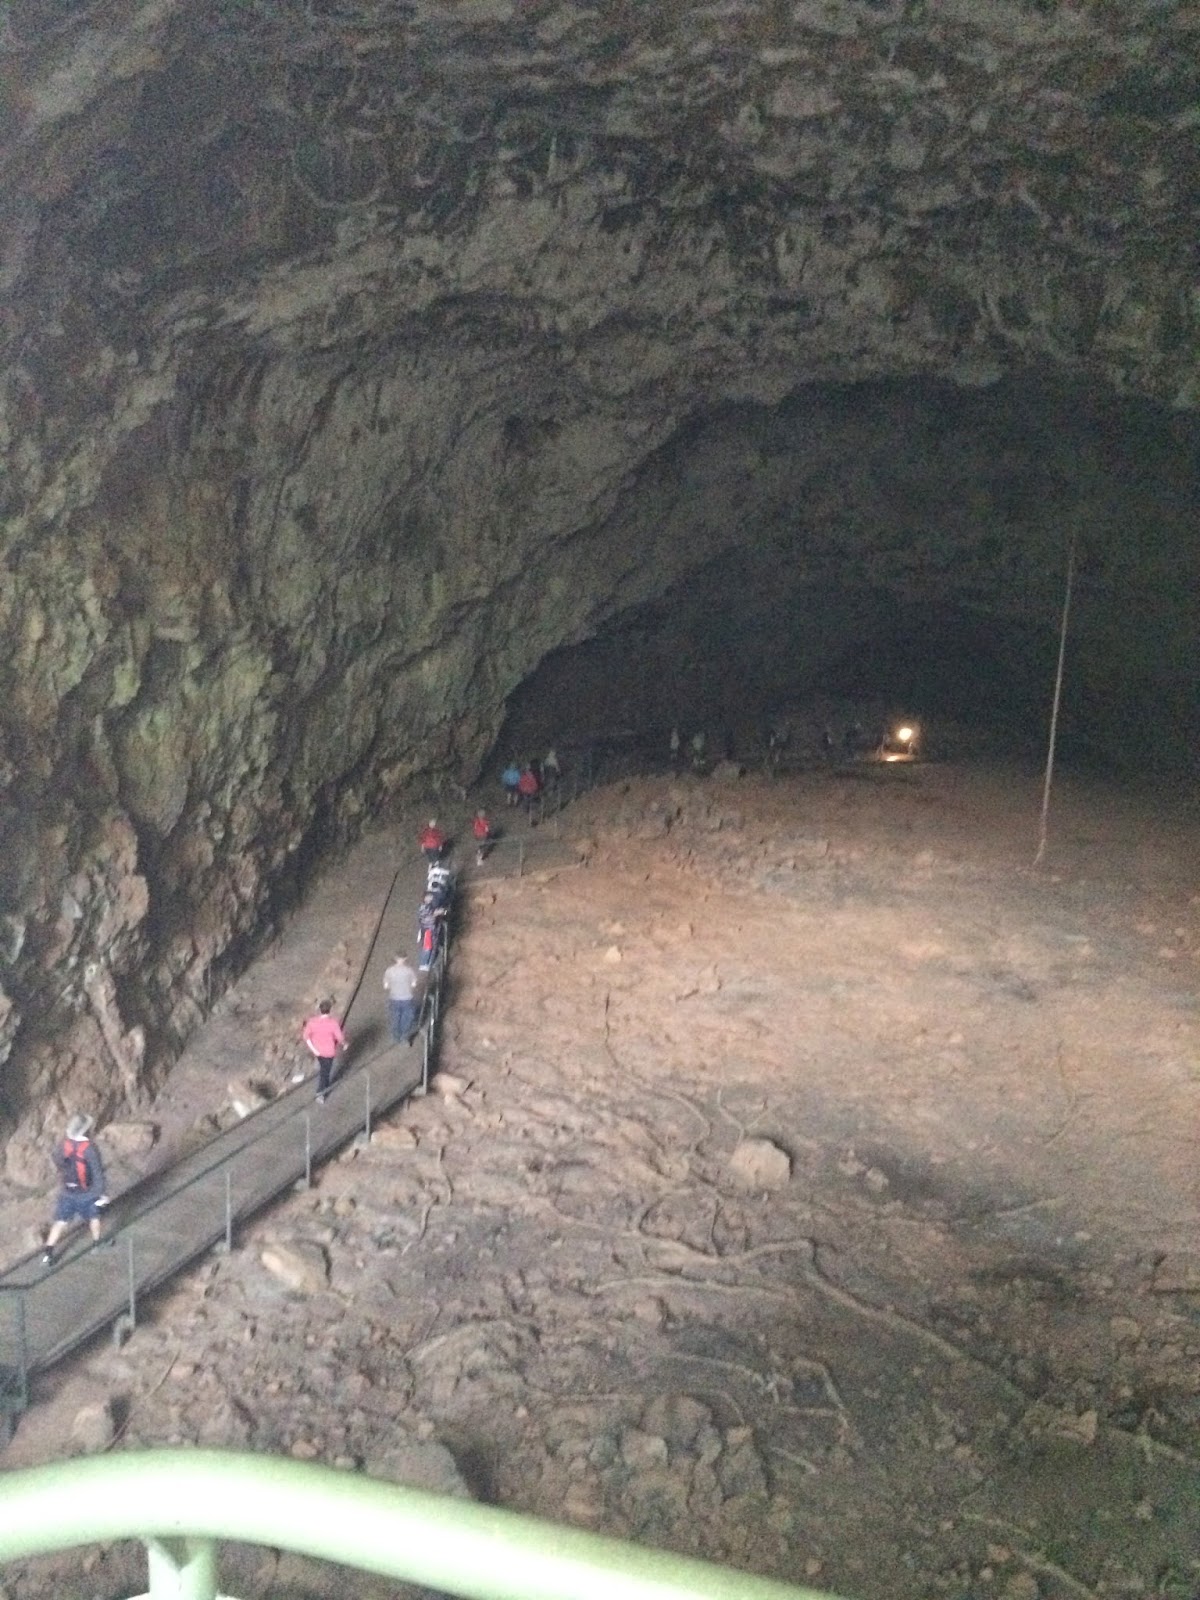
To access the Lava Tubes you need a guide. We went on a two hour Archway Explorer tour where we went into a couple of sections of the caves. There were boardwalks and stairs into the caves so it was a safe and enjoyable way to access the caves. I chose this tour because the Littlest Man might not have coped with the more active tours.

The boys loved the trip and had a great time. I made the trip easier for myself by preparing some meals in advance which I placed in disposable aluminium trays and then heated on the BBQ. This meant I wasn't away from the boys for long periods cooking. I also have a giant sports team sized water cooler that I filled with ice and water before left home. So we had icy cold water the whole time we were away. The only thing I didn't think to do was to have a meal prepared at home waiting for our return. I certainly didn't feel like cooking an evening meal when we got home.

We have a few small weekend trips planned for the next few months. These trips will be very budget friendly as part of making memories and also as birthday present treats for my boys. This trip was for my twins as they turned 11 just days before we went.

Happy camping for everyone else spending school holidays out bush. 

Sunday, 25 May 2014

Paradise toilet

Decorating while in a rental house can be hard and very limiting. I have been trying to think of ways to make the house suit my style and be a fun place for the kids to grow up in. 

I was walking past the very dull toilet and wondering how could I make that more interesting without changing the paintwork. I love colour and recently I decided to bring in more 'gypsy' style decorating to tie the look together. But what could I do with this average looking toilet room?
 Then while I was cleaning up my craft stash I thought of a wonderful way to use up wool and ribbon scraps. I found an old rod and spring loaded ends hiding in the shed and I looped the wool and ribbon over the rod. With the spring loaded rod, it means that it can be removed easily without damaging the walls and it doesn't require any holes to be drilled in the brickwork. Brilliant.


Next I got an old plant stand and added a pot plant to the room. The plant stand was once white and got spray painted orange a while ago. I have used an old glass cookie jar for the plant and tied wool and ribbons around it to add more colour. The plant came out of a big pot that needed thinning out.

The best thing about this project is that it cost me nothing because I just used things that were laying around unused. I think this is probably the most gypsy feel I can give to the room without painting or re-tiling. Though if you have any other ideas please let me know especially as I have the bathroom to do next.

Surprisingly my boys love it. As it was a very quick and easy project they didn't see it happening so the next time they needed to use the bathroom they got a pleasant shock. Even the youngest said "it pretty" which I will take as a high compliment. One of my boys sometimes struggles to find words to explain things due to his autism. He looked at the room and said "wow it looks like a paradise toilet". I'm not really sure what a paradise toilet is but I like the name and forever forward this room will be referred to as the Paradise toilet.